
Are your histology slides ready to be scanned?
Digital representations of tissue, so called whole slide images or WSI, are slowly replacing the traditional glass slides in histopathology. Therefore, preparing tissue sections for the scanning process is a critical phase for the success of the laboratory workflows, to which special attention must be paid.
Are your histology slides ready to be scanned?
Strictly speaking, yes. However, to ensure that you get the best quality out of your digital imaging process there are some additional aspects to consider.
From a technical standpoint, scanners come with various configurations and operating modes. Therefore, you should always first refer to the usage specifications of the device.
In any case, here is what you should think about before you start scanning. This will optimize your output quality during the imaging process, improve the user experience and save you precious time.
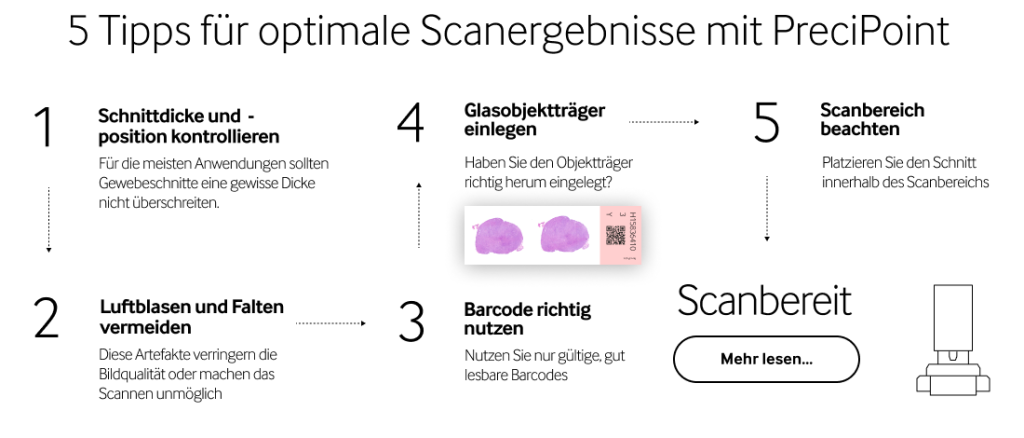
5 tips for best scan results with PreciPoint
1. Check section thickness and position
The ideal section thickness for the imaging process should be between 3 to 30 micrometers (µm).
Place the tissue at the center of the glass slides, leaving a minimum distance of 1 to 2 mm (about 1/16”) to the edges of the slide, in accordance with common practice (Standard of Practice (SOP)).
Stay Ahead with Insights from Precipoint!
Welcome to our newsletter! Be the first to know about our latest products, services, webinars, and happenings in PreciPoint. Don't miss out on this opportunity to stay informed. Subscribe to our newsletter today!
By clicking “Subscribe”, you agree to our privacy policy.
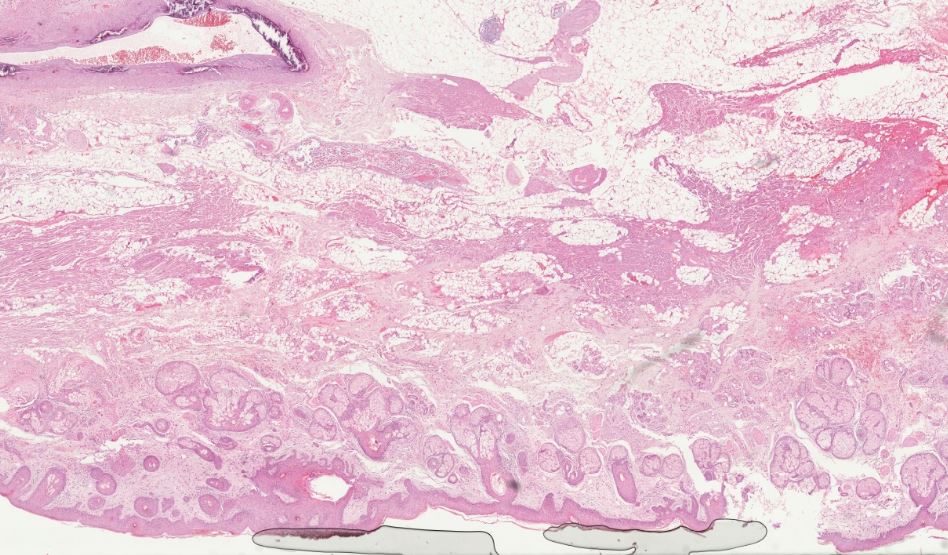
2. Avoid folds and air inclusions
Avoid scanning tissue sections with folds and air inclusions. The underlying tissue might be poorly visible due to the overlapping artifacts. Folds can also lead to rendering the entire image less sharp due to the average z-position being calculated too high up, which may compromise an accurate analysis.
To avoid the formation of wrinkles and folds in sections, check that the water temperature of the flotation bath is at the temperature indicated in your SOP.
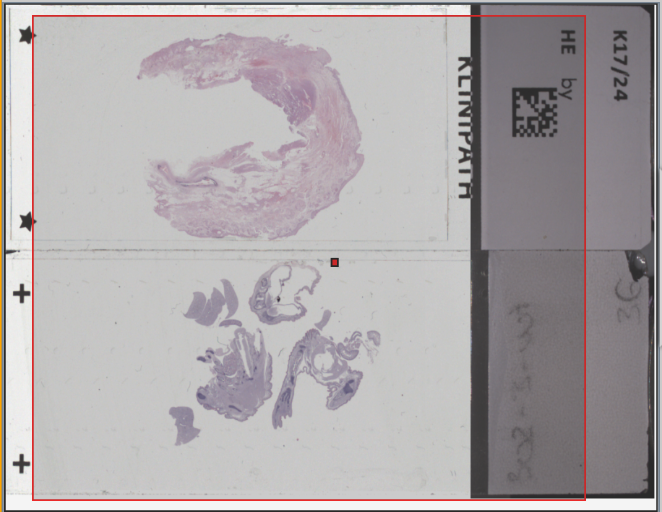
3. Using barcodes
The use of barcodes or QR codes in the imaging process enables the relevant sample and section information to be stored in the scan metadata.
To ensure optimal performance of the barcode reader, here is what you should consider:
Use a high-resolution barcode printer
Use only one valid barcode per slide
Print the barcode on a white, nontransparent, non-reflecting background
Apply the barcode only onto the label area of the glass slide
Do not make the barcode too small. However, we recommend leaving a minimum distance of 1 to 2 mm (about 1/16”) to the edge.
Apply the barcode in one of the four 90° orientations (slight angular variations are acceptable)
4. Inserting the glass slide
Make sure to insert the glass slide on the microscope stage the right way around. With the PreciPoint M8 and O8, the barcode must always be on the right side with the coverslip facing upwards.
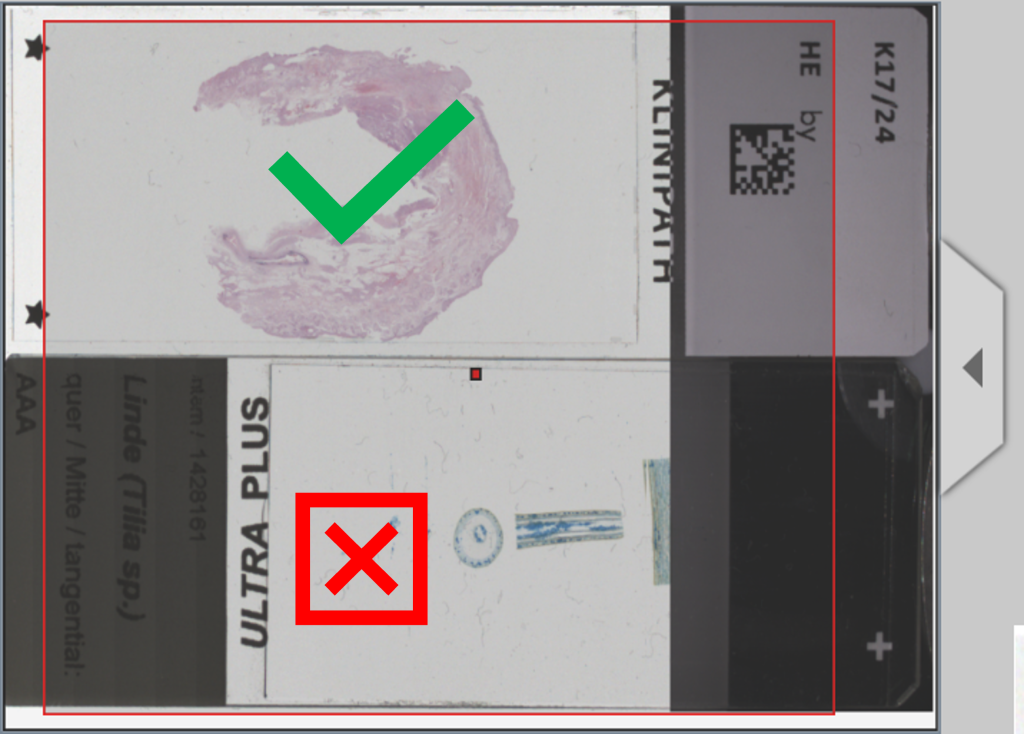
5. Using the scanning area
Here you can find out more about the M8 digital microscope and scanner for histology and cytology